Convert a WebP file to JPG only when the place you are uploading to asks for JPEG. The conversion does not improve the image, and the result can be larger than the WebP you started with.
Choose Output: JPG or Output: PNGbefore adding the file. The conversion runs when you add the image, so changing the output afterwards does nothing until you click New and add the file again.
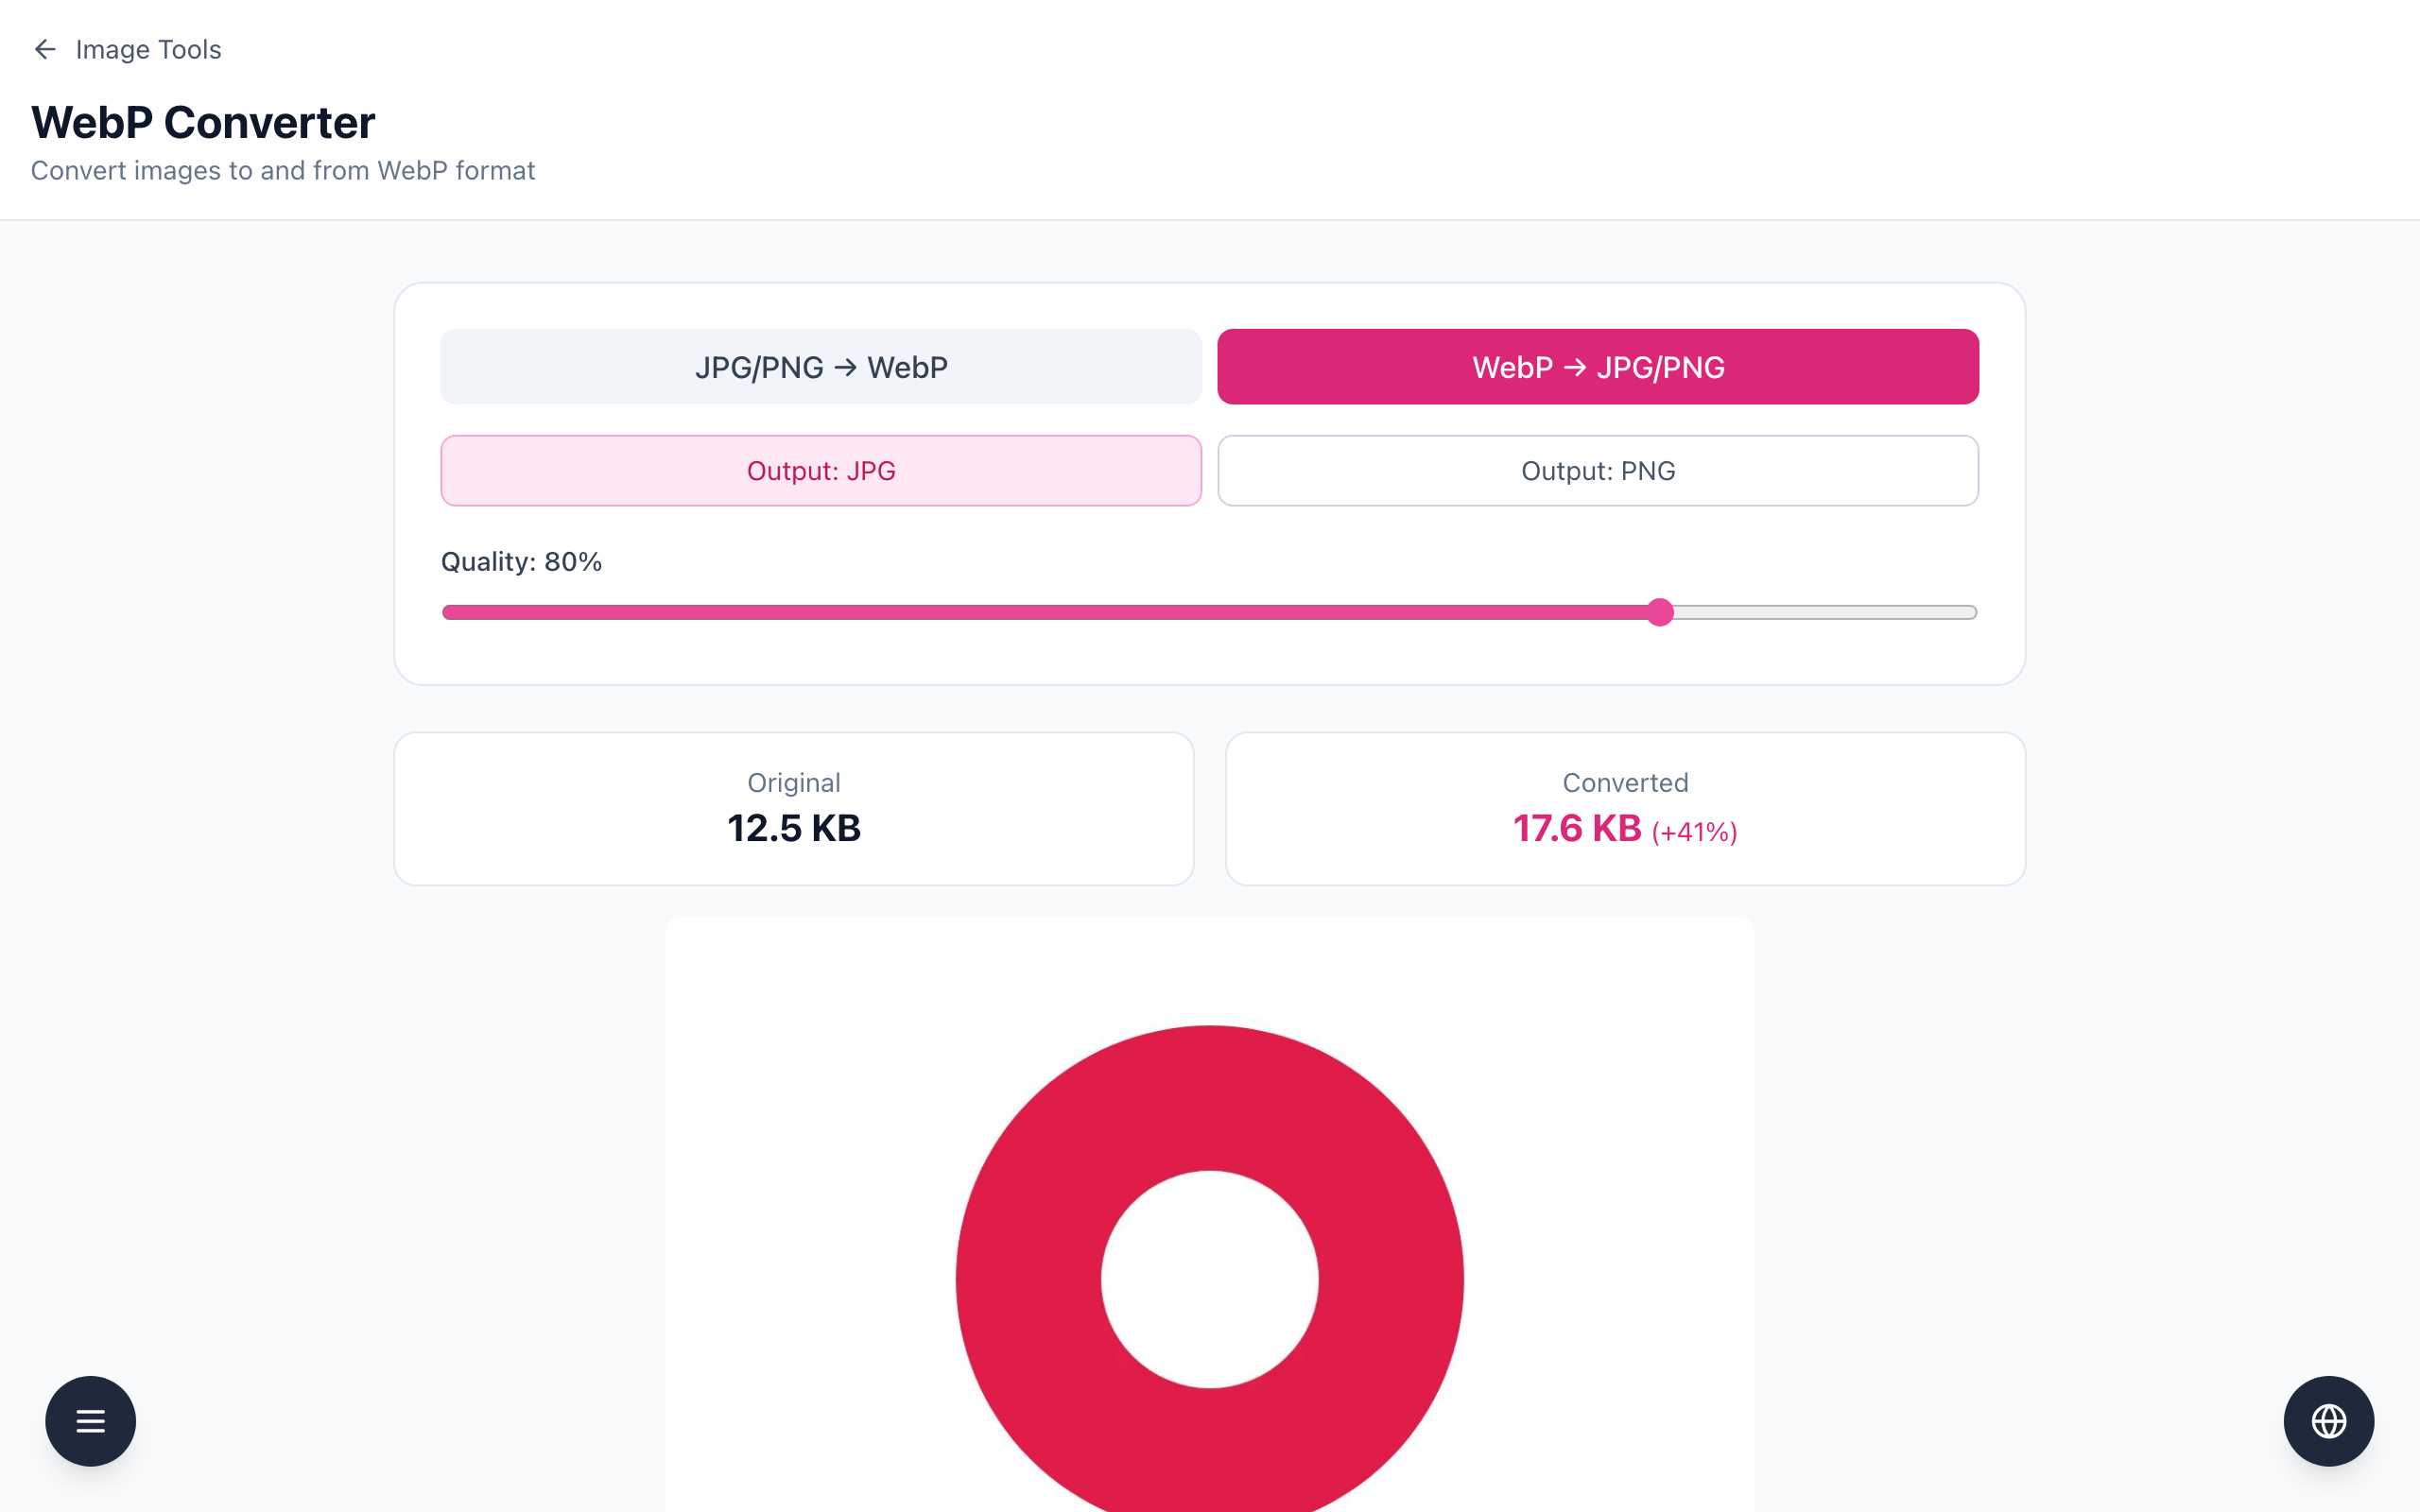
Drop in the WebP. The example is a 1200 × 800 WebP logo with a transparent background: Original 12.5 KB. With Output: JPG (Quality: 80%) it becomes 17.6 KB (+41%), and the transparent area is filled with white.
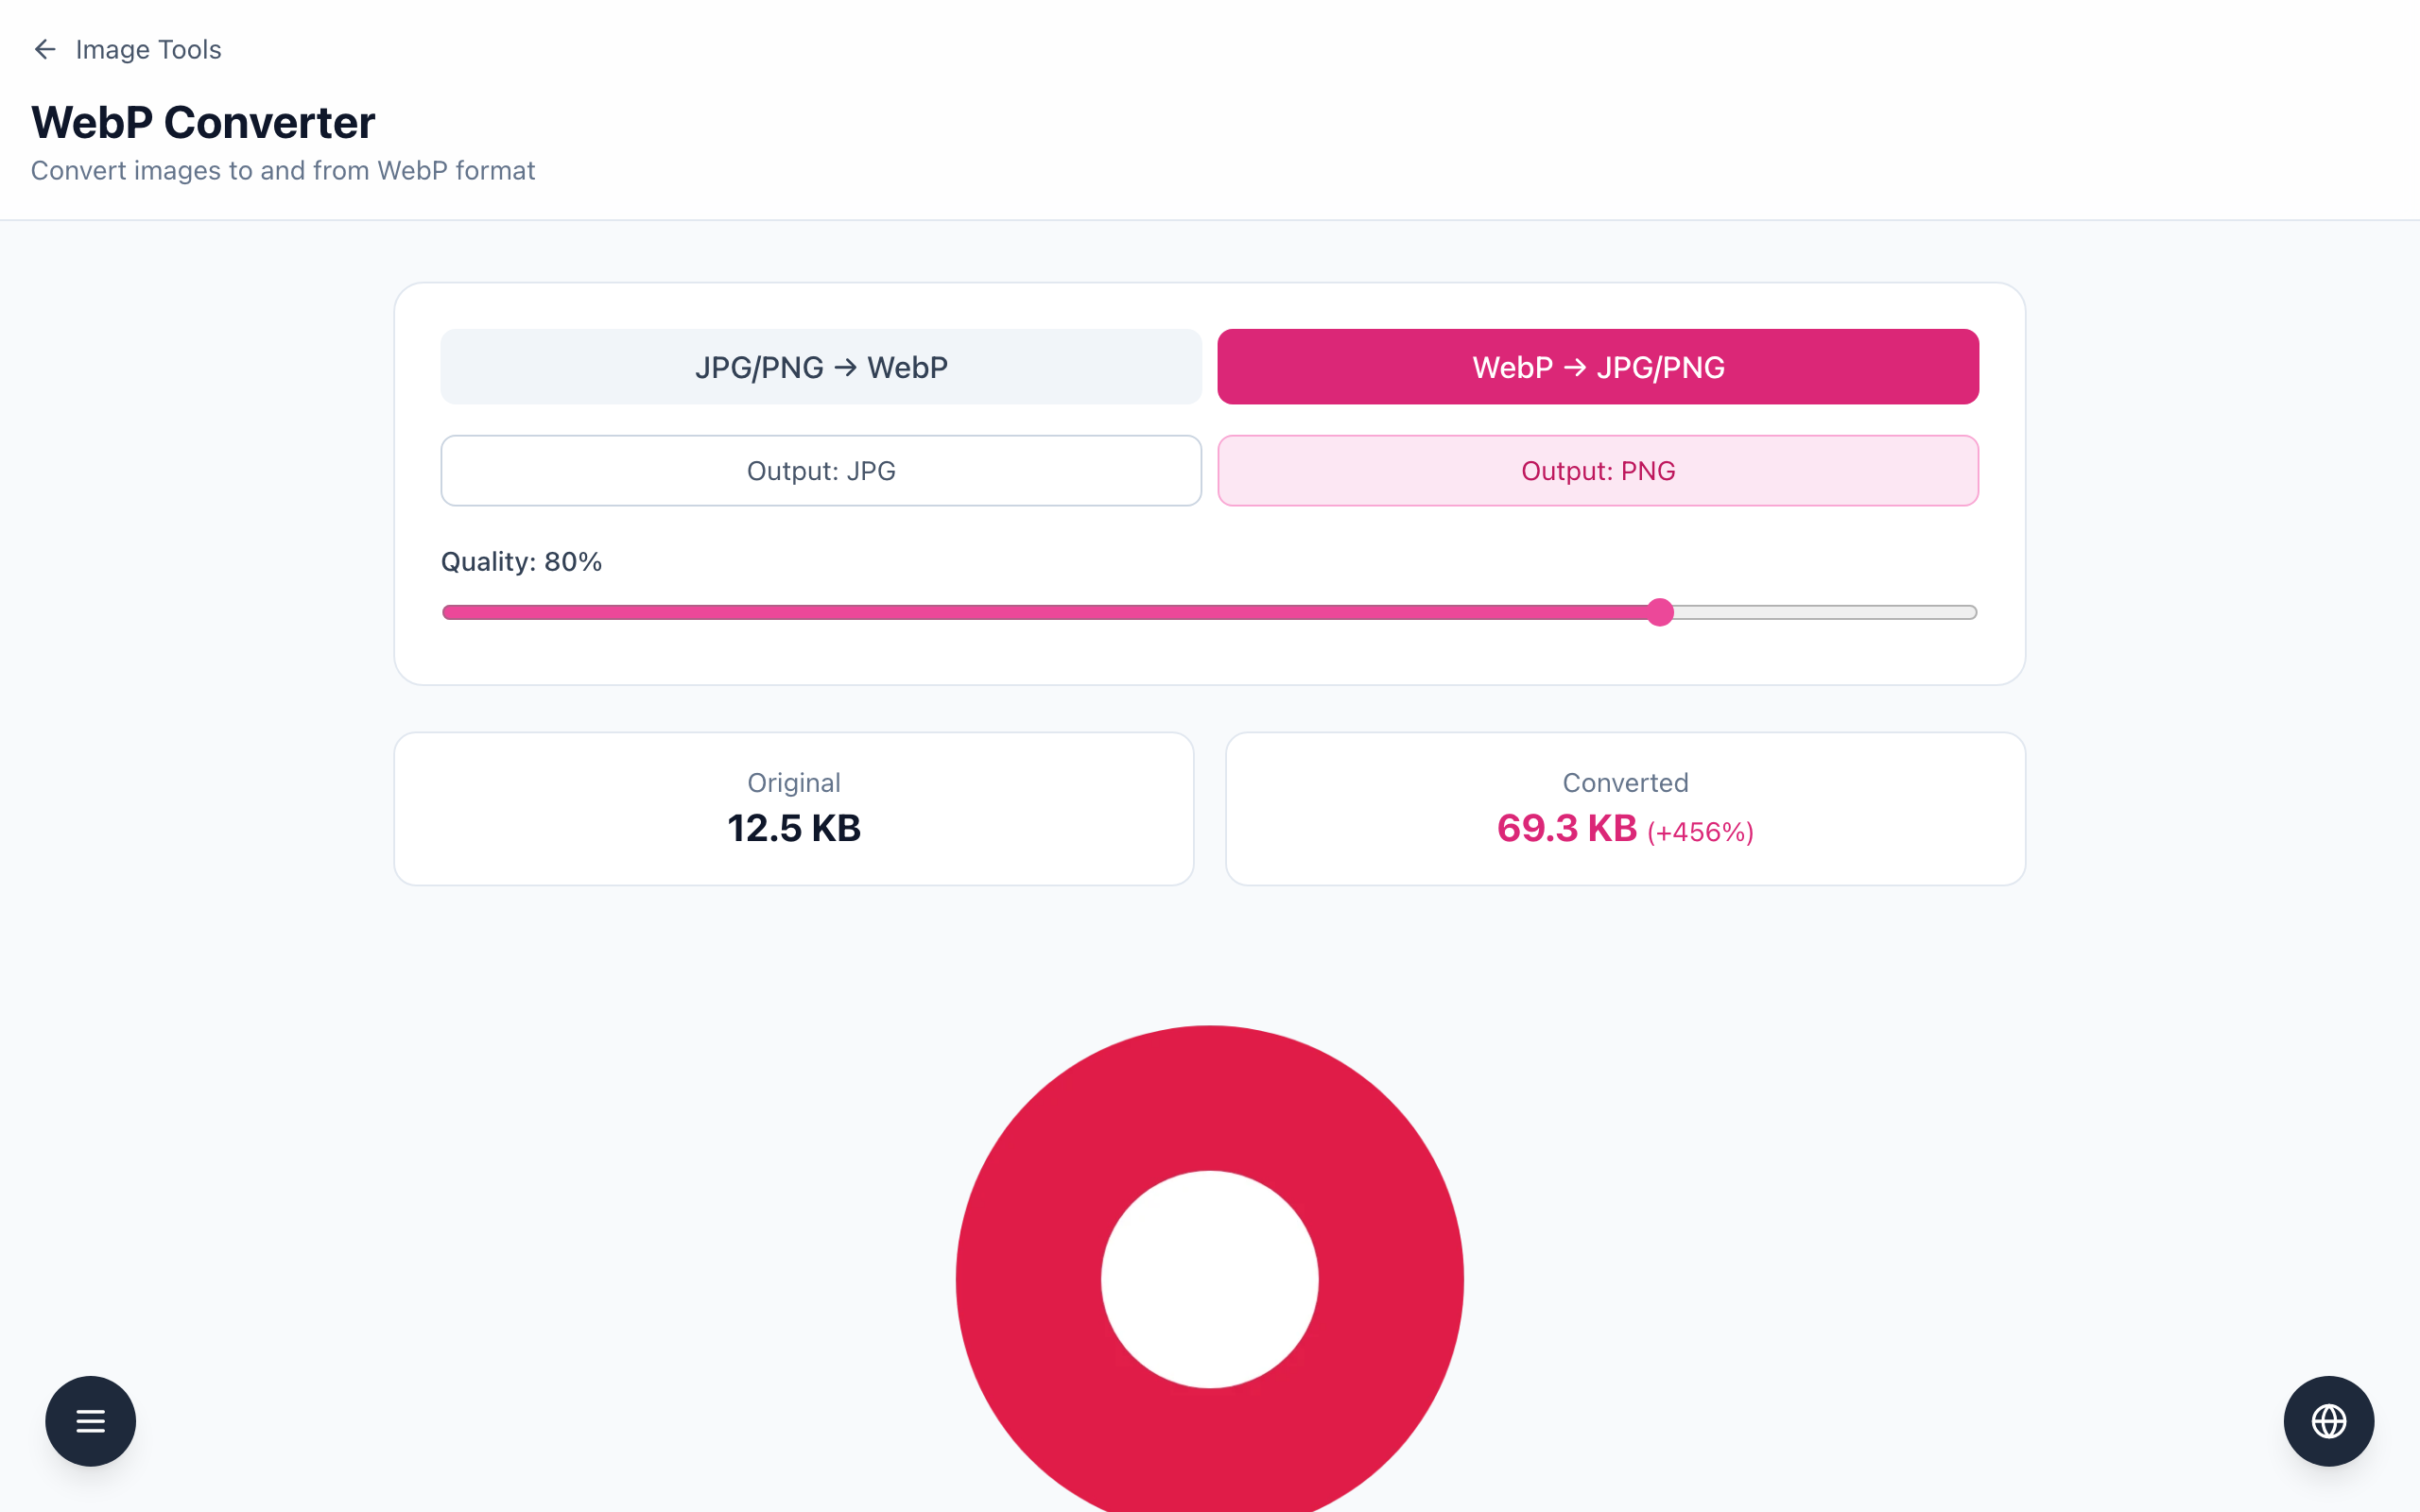
To compare, click New, choose Output: PNG and add the same file: 69.3 KB (+456%), with transparency kept. Click Download to save the result.
The Quality slider only changes JPG output; PNG is lossless. If the destination already accepts WebP, converting just makes the file bigger. Keep the WebP master: a JPG cannot get its transparency back.
If it doesn't work
If the file will not load, make sure it is really a WebP; the tool accepts only WebP in this mode.
If the file got bigger, that is normal for WebP → PNG, and often for WebP → JPG on graphics.
If the preview looks wrong after moving the Quality slider, drop the file in again.