Crop a Photo to a Square Without Losing the Subject
November 18, 20263 min read
Click 1:1, then drag a square around the subject on the image. The default frame is a centered square and can cut off a subject that sits off-center, so draw your own.
Crop to a square
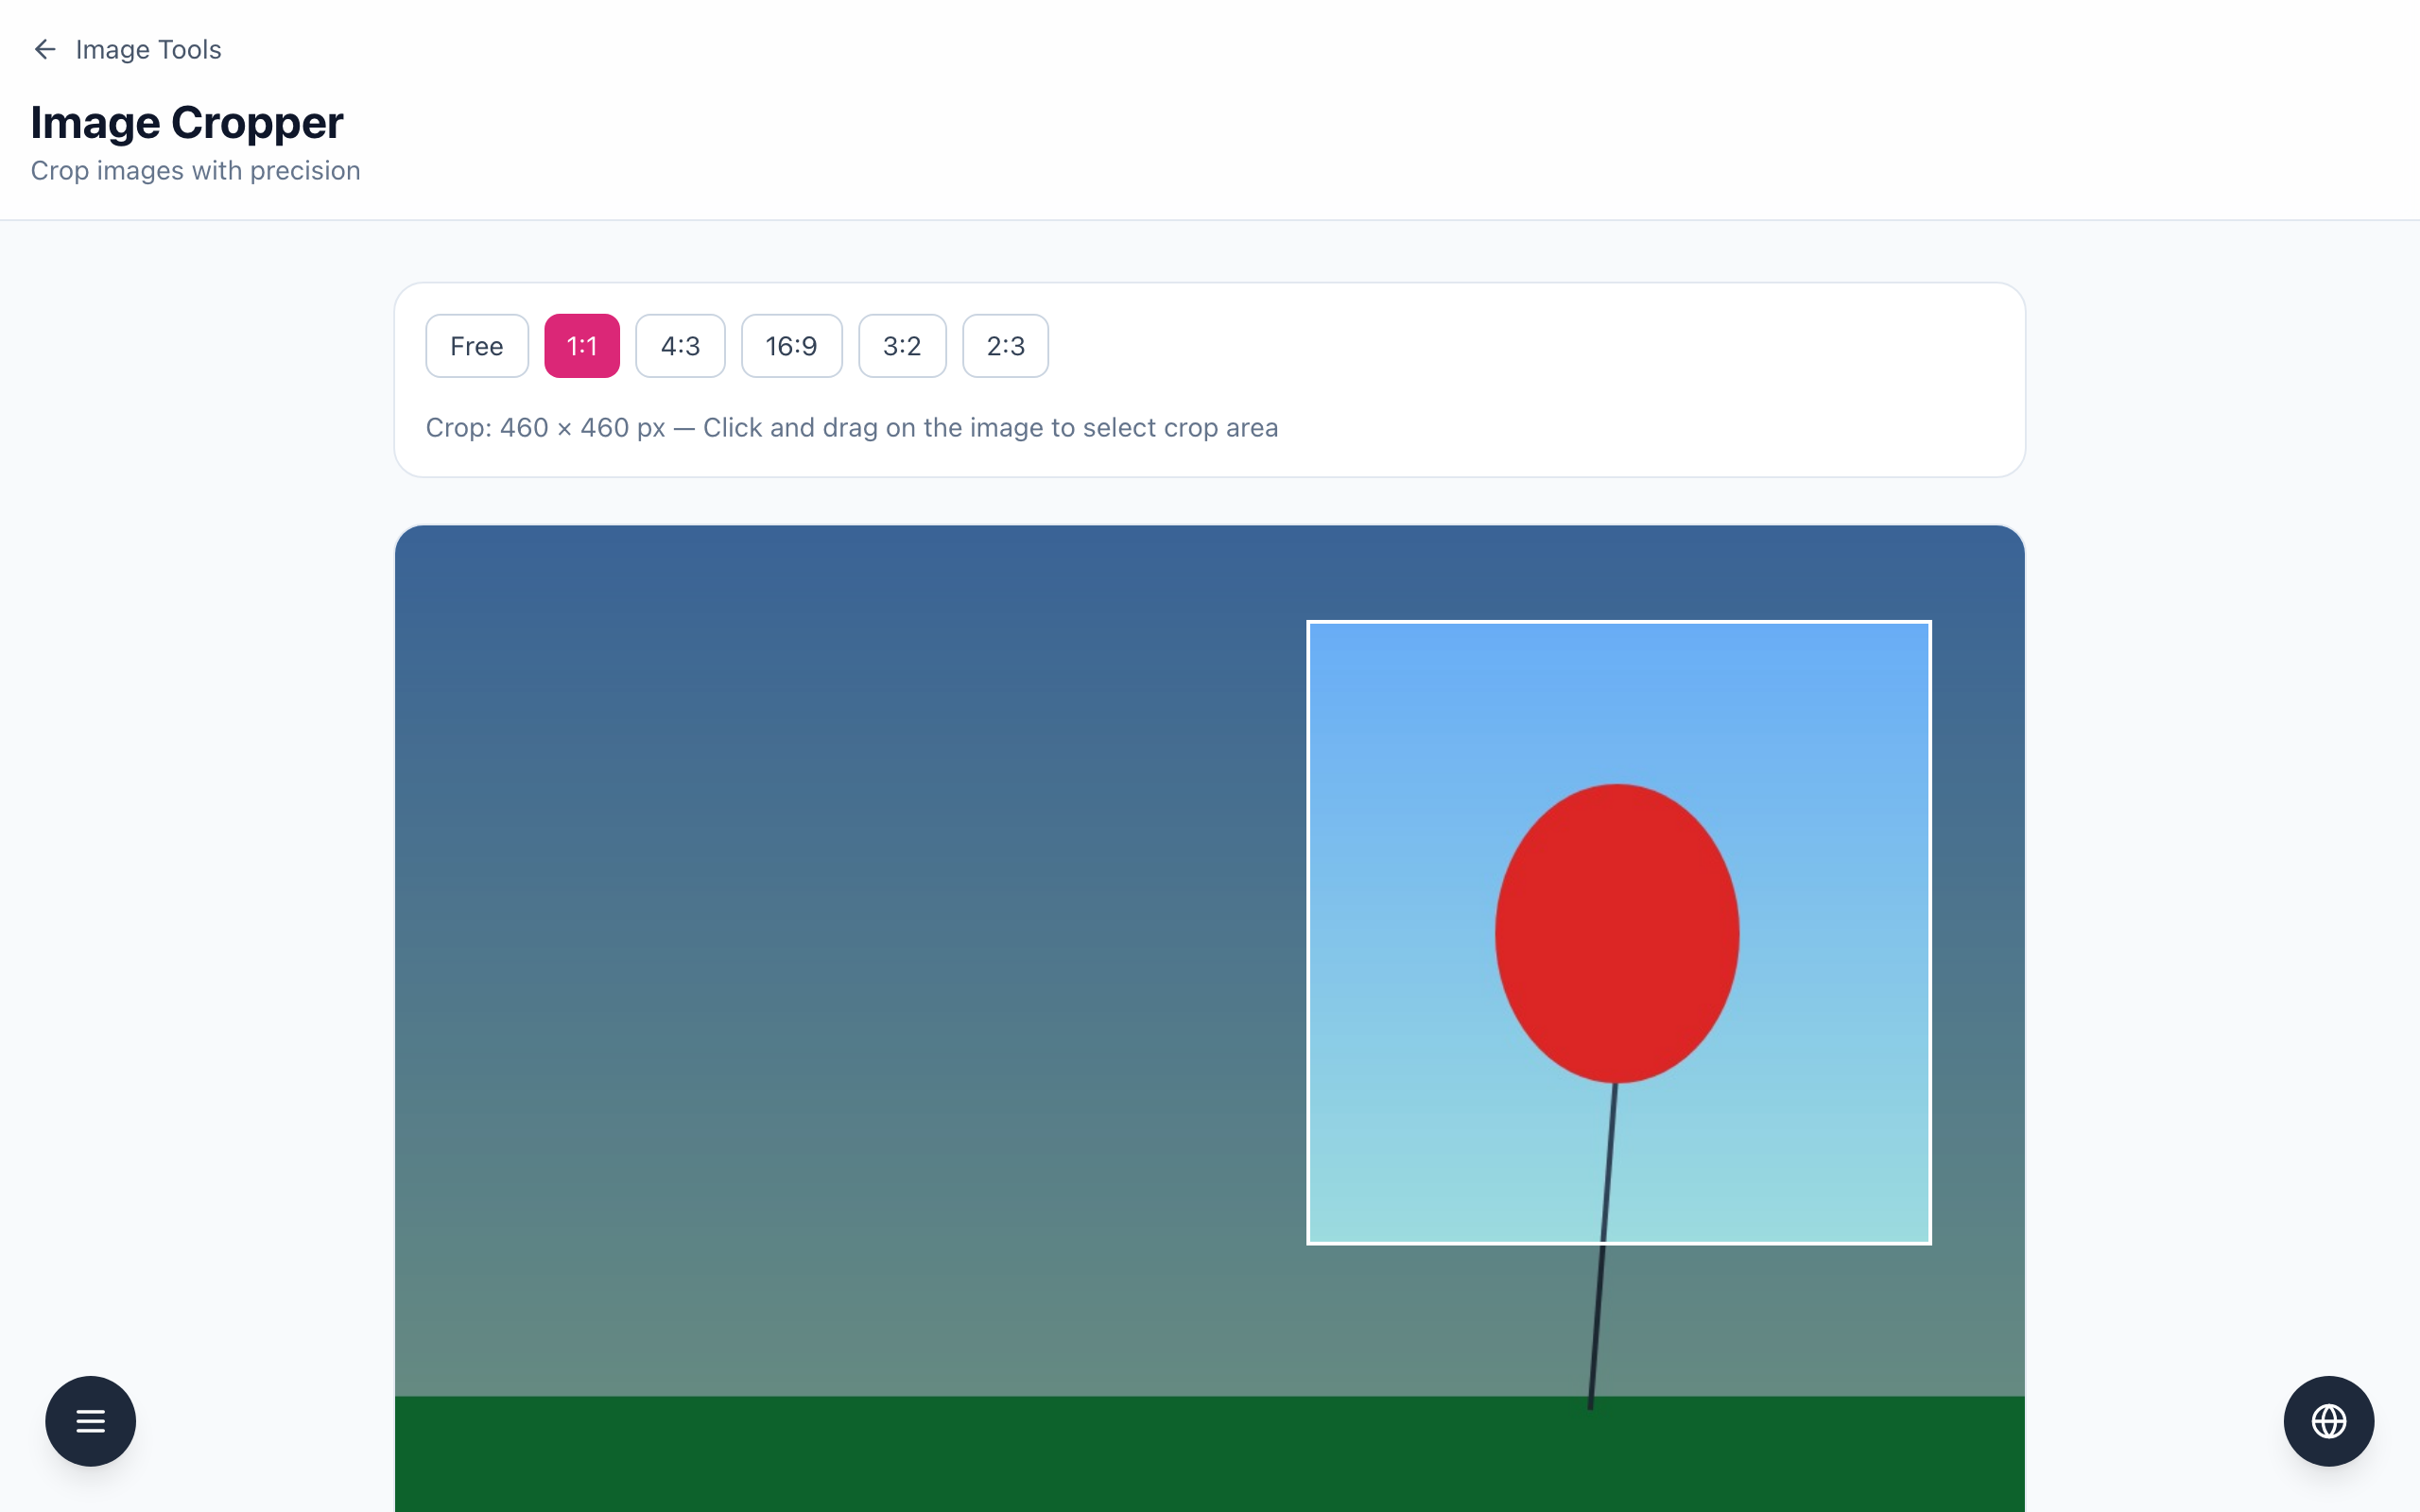
Open the Image Cropper and drop in a photo. The example is a 1200 × 800 image with a red balloon right of center. The tool starts with a centered 640 × 640 px frame, which would cut the balloon.
Click the 1:1 ratio button (others: Free, 4:3, 16:9, 3:2, 2:3).
Click and drag on the image from one corner to the opposite corner of the area you want. The frame stays square and the label shows Crop: 460 × 460 px. Leave some space around the subject.
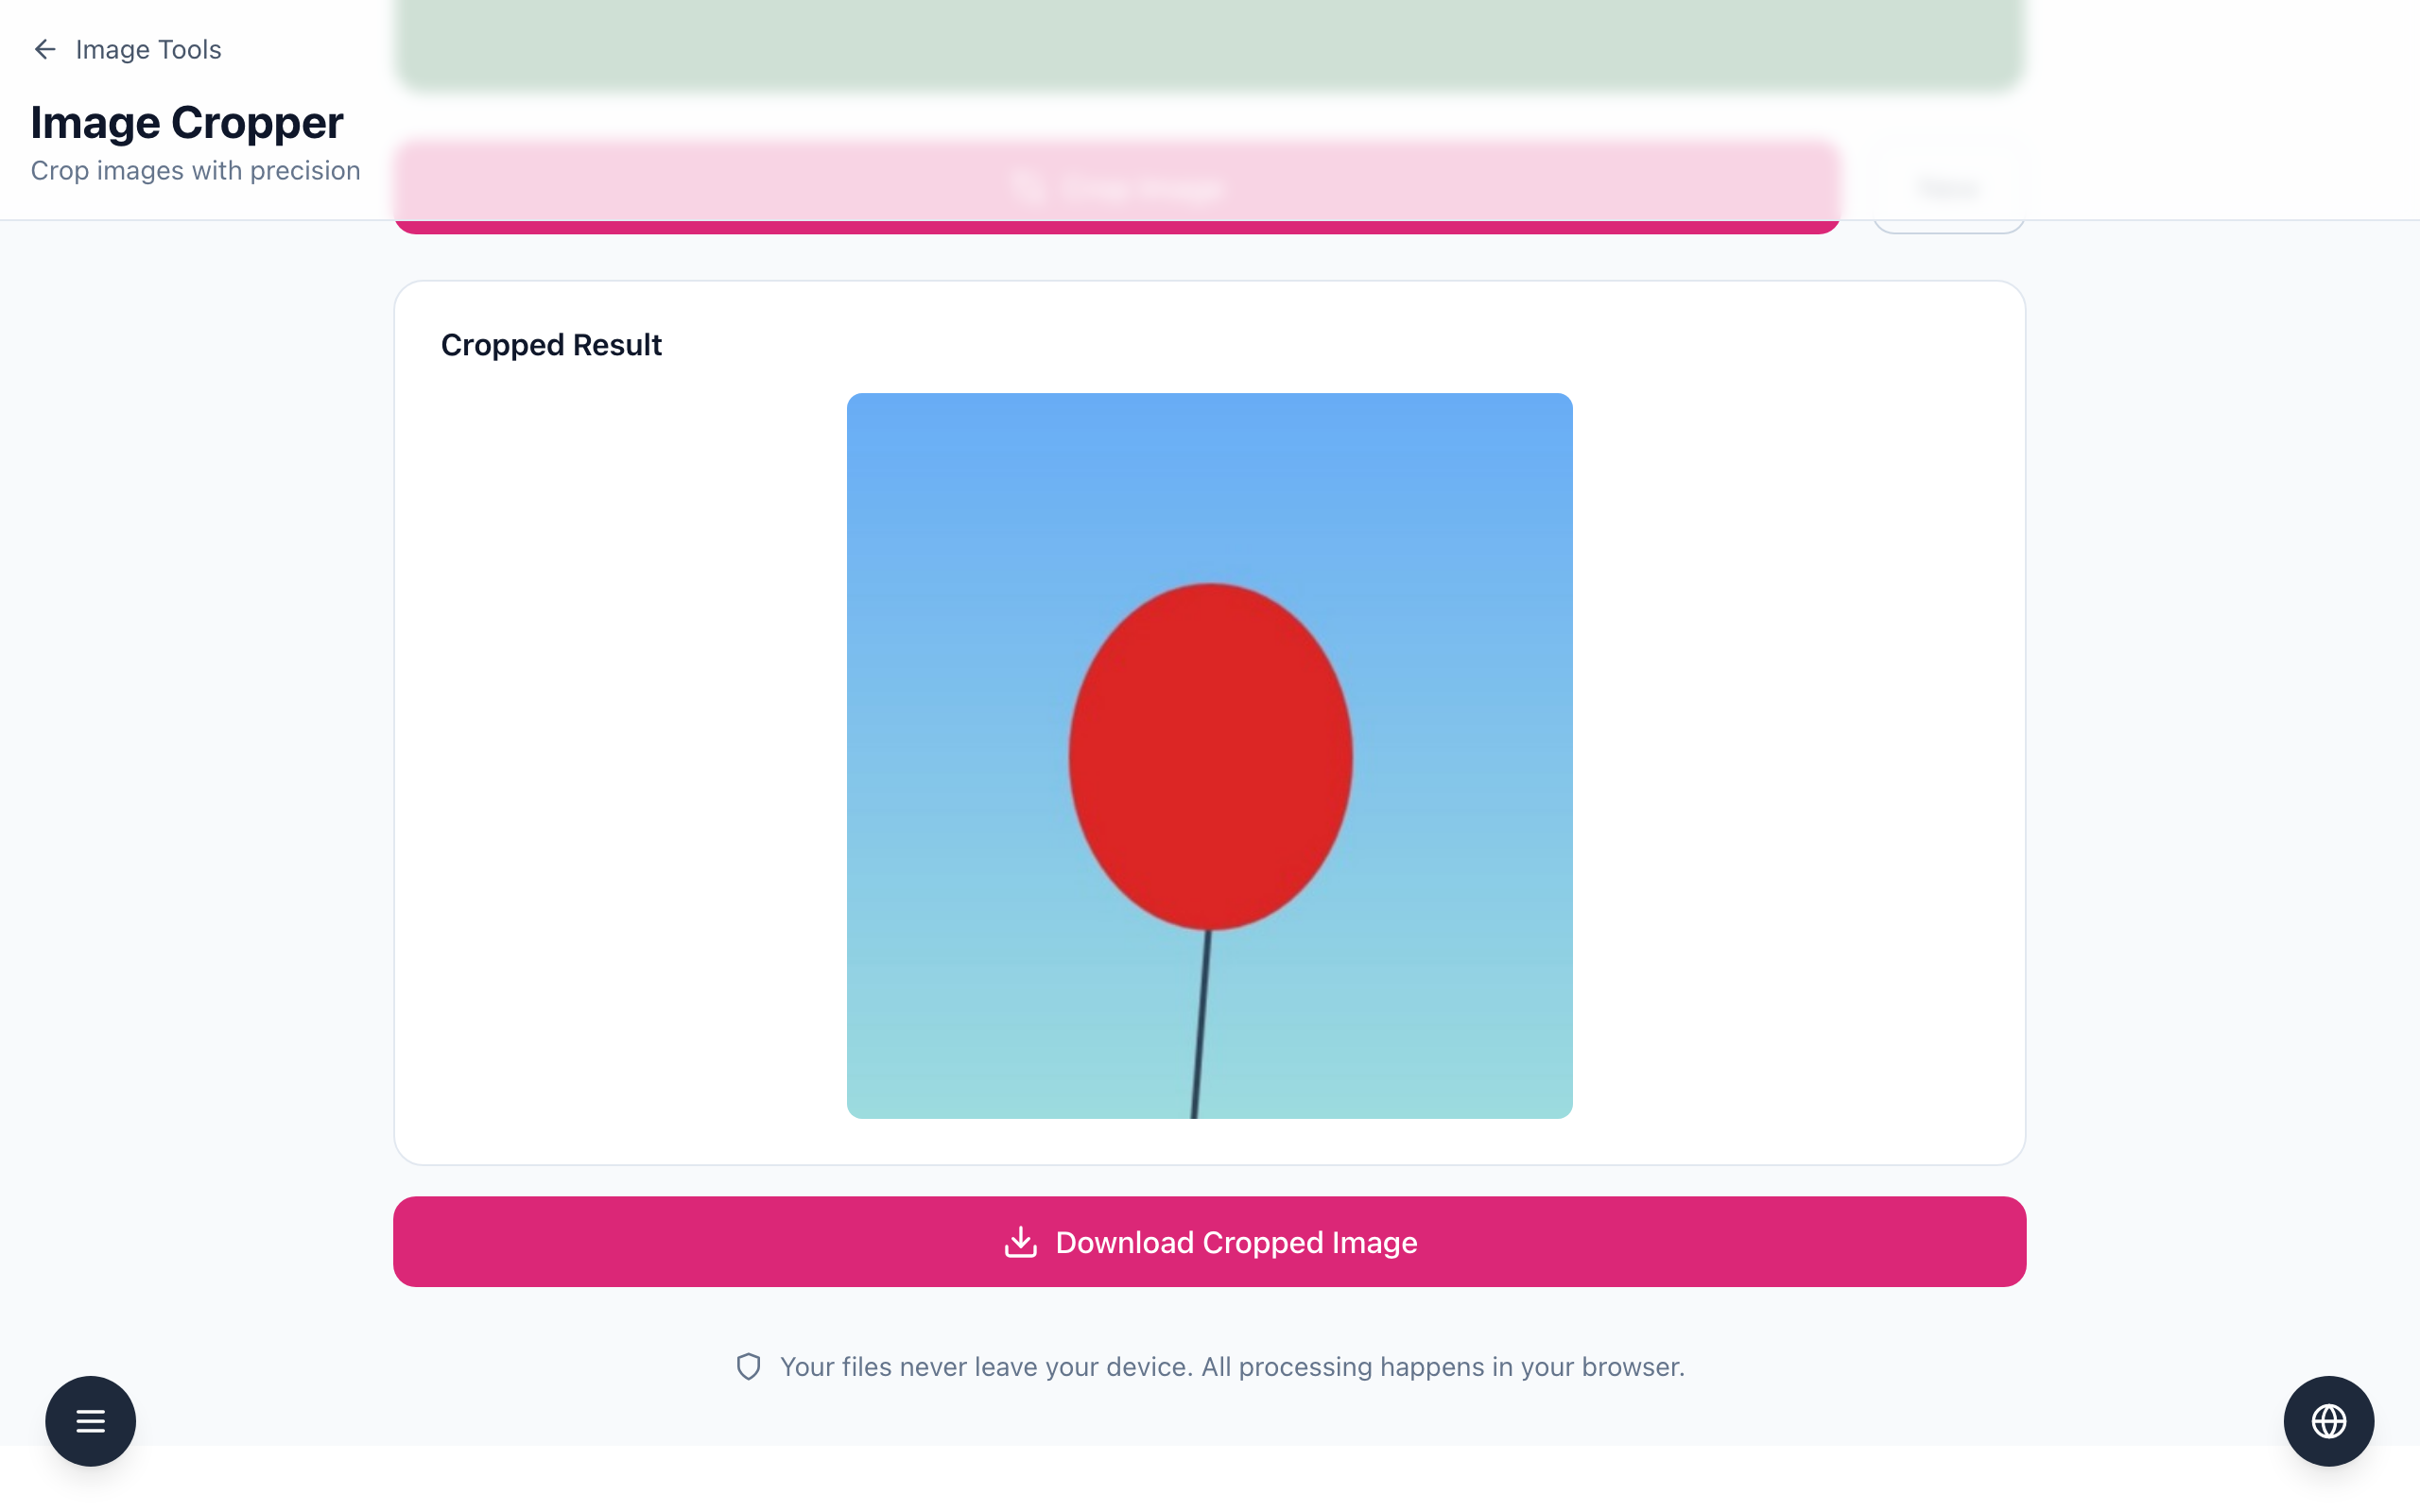
Click Crop Image. Check the Cropped Result, then click Download Cropped Image. The file is named cropped_ plus the original file name.
The frame cannot be moved or resized after you draw it: to adjust, drag a new one. Cropping discards the pixels outside the frame, so keep the original. Some services add their own circular mask after upload, so leave margin and check the platform preview.
If it doesn't work
If the frame is not square, click 1:1 and draw it again.
If the subject is clipped, draw a larger frame; the Crop label shows its size in pixels.
If the crop result is empty, the frame was too small — drag a larger area.